
How to Repair Cracked Driveway Concrete Right
Learn how to repair cracked driveway concrete in Austin's heat, choose the right repair, and know when structural damage calls for a professional early.
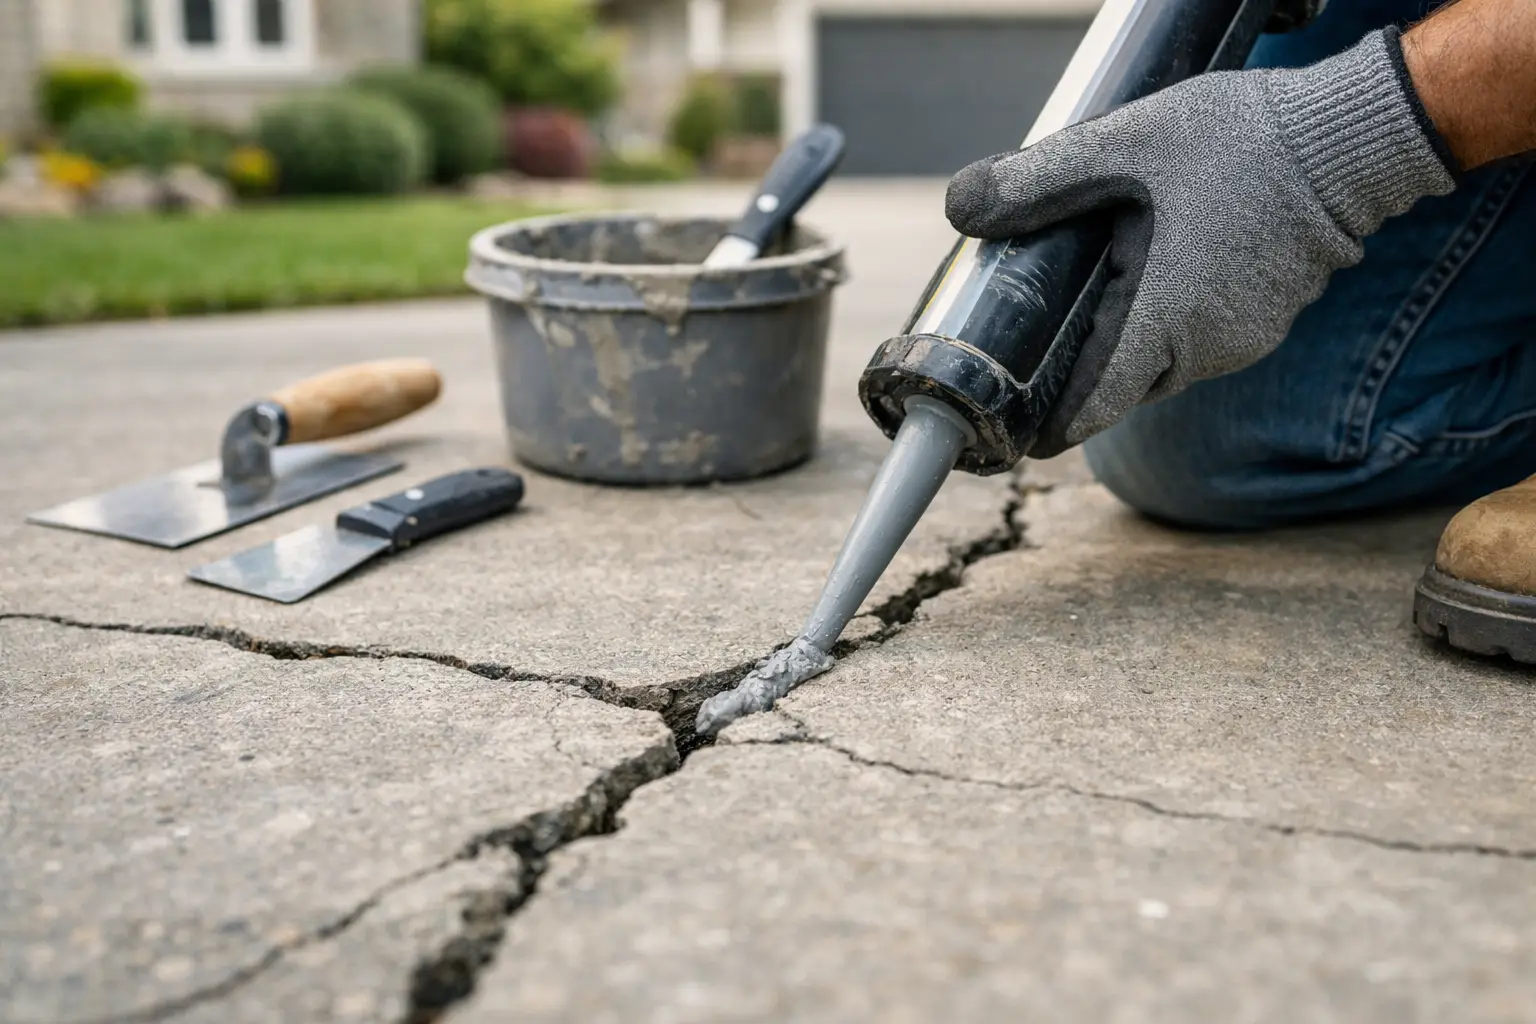
A driveway crack can look minor one season and become a trip hazard, water channel, or broken slab edge by the next. Knowing how to repair cracked driveway concrete starts with identifying why it cracked. In Austin, extreme heat, sudden rain, clay soil movement, tree roots, and heavy vehicles can all put pressure on concrete. A surface repair works well when the slab is stable. It will not solve a driveway that is moving, sinking, or separating.
Before buying patch material, take a close look at the crack. The repair method should match the damage, not just cover it up. That is the difference between a clean repair that holds and a temporary cosmetic patch that fails after the next hard rain.
Start by sizing up the driveway crack
Hairline cracks are narrow surface cracks, often caused by normal concrete shrinkage as the slab cured. They may be unsightly, but they are usually not structural if both sides of the crack remain level. These can often be sealed or filled to keep water and debris out.
Cracks wider than about one-quarter inch need more preparation and a stronger repair product. If the crack has chipped or broken edges, it may need to be opened, cleaned, and patched with a concrete repair mortar rather than a simple liquid crack filler.
The biggest warning sign is vertical movement. Place a straight board across the crack. If one side sits noticeably higher than the other, the slab has heaved or settled. This is called displacement. Filling that gap will not level the concrete, and the crack will likely reopen. Long cracks that run across the full driveway, cracks near a garage entrance, and cracks paired with pooling water also deserve a closer professional assessment.
Why Austin driveways crack
Concrete is strong under compression, but it does not bend well. When the ground below it shifts, concrete relieves that stress by cracking. Central Texas clay soils expand when wet and contract during dry stretches. That repeated movement can leave voids under a driveway or push sections upward.
Drainage adds to the problem. Water flowing along the driveway edge, downspouts that discharge beside the slab, and irrigation leaks can soften or wash out supporting soil. Tree roots can lift concrete, while oversized trucks, trailers, or dumpsters can stress a slab that was not designed for that load.
Not every crack means the original concrete work was poor. Concrete naturally develops minor shrinkage cracks over time. The goal is to separate normal aging from active movement. If the cause remains in place, even the best patch material is only buying time.
How to repair cracked driveway concrete when the slab is stable
For a stable hairline or moderate-width crack, plan the repair for a dry day when the concrete is not scorching hot. Early morning is often better than the hottest part of an Austin afternoon. Direct sun can cause repair materials to set too fast and make finishing harder.
You will generally need a stiff wire brush, shop vacuum or blower, hammer and cold chisel, concrete crack filler or repair mortar, and a trowel or caulk gun depending on the product. Wear gloves, eye protection, and a dust mask when cleaning or chiseling concrete.
Clean the crack completely
A repair product needs solid concrete to bond to. Remove weeds, loose concrete, dirt, leaves, oil, and old failed filler from the crack. Use a wire brush first, then vacuum or blow out the dust. If the driveway has oil contamination, clean it with a concrete degreaser and allow the area to dry fully.
Do not skip this step. Dust packed at the bottom of a crack is one of the most common reasons filler separates from the concrete. The crack should be clean and dry before material goes in.
Prep wider cracks for a better bond
For wider cracks with weak edges, use a hammer and cold chisel to remove loose material and create a slightly wider opening below the surface than at the top. Contractors often call this undercutting. It gives repair mortar a mechanical hold instead of leaving it as a thin cap that can pop loose.
Avoid aggressively chipping sound concrete just to make the crack look larger. The purpose is to remove damaged material and create a stable repair area. Vacuum again once the crack is prepared.
Choose the filler based on crack size
Self-leveling polyurethane crack sealant is useful for narrow to medium cracks on flat surfaces. It flows into the gap and remains somewhat flexible, which helps where minor movement is expected. Follow the product directions closely, especially for crack depth and curing conditions.
For deeper cracks, install foam backer rod before applying sealant. The backer rod controls the depth of the sealant and prevents wasting material deep in the joint. It also helps the sealant stretch and compress more effectively.
Concrete patching compound or polymer-modified repair mortar is usually the better choice for cracks with broken edges, small spalls, or shallow missing sections. These products can be shaped with a trowel to restore the surface. They are less flexible than sealant, so they are best used where the crack is not actively moving.
Do not use standard bagged concrete mix for a thin crack repair. Large aggregate makes it difficult to pack into small spaces, and thin applications tend to break down. Use a product designed for repairs.
Fill, finish, and protect the repair
Fill the crack from the bottom up. For sealant, hold the nozzle low in the gap and move steadily to avoid trapping air. For repair mortar, press the material firmly into the prepared crack with a trowel, then smooth it level with the surrounding surface.
A repair should be flush or just slightly below the slab surface. A raised patch can catch tires, snow shovels, and foot traffic. Texture the finished patch lightly if the driveway has a broom finish so it does not leave a slick, shiny strip.
Respect the cure time on the product label. Keep vehicles off the repair until it has cured fully. In hot, dry weather, some cement-based repair materials may need light moisture protection during curing. Fast drying is not always proper curing.
When a crack needs more than filler
DIY repair is not the right answer for every driveway. If a section has sunk, lifted, or cracked into multiple pieces, the issue is likely below the slab. Depending on the condition, the right fix may involve concrete leveling, drainage correction, partial removal and replacement, or rebuilding a larger section.
Call for an evaluation when you see these conditions:
- One side of the crack is higher than the other.
- The crack is wider than one-half inch or continues to widen.
- Concrete is crumbling, flaking deeply, or breaking away at the edges.
- Water ponds on the driveway or runs toward the garage or foundation.
- Cracks form a web pattern across a large area.
- A driveway panel moves when vehicles pass over it.
A full replacement is not always necessary. Sometimes a failed panel can be removed and replaced while sound concrete remains in place. That depends on joint layout, drainage, base condition, and how well the existing driveway matches the surrounding slab. A qualified concrete contractor can determine whether a localized repair will hold or whether it would simply delay a bigger problem.
Prevent the next driveway crack from getting worse
Once the crack is repaired, manage the water around the driveway. Keep gutters and downspouts from dumping directly beside the concrete. Maintain grading so water moves away from the driveway and house, not underneath the slab. Repair irrigation leaks promptly, especially near driveway edges.
Keep soil and mulch from building up against the concrete. Avoid parking heavy equipment repeatedly in the same spot unless the driveway was built for that load. If nearby trees are lifting the slab, address the root issue carefully. Cutting major roots without a plan can damage the tree and may not stop movement if the slab is already displaced.
Sealing the driveway can help reduce moisture intrusion and surface staining, but it is not a structural repair. Use a penetrating concrete sealer on clean, fully cured concrete, and choose a finish that does not create a slippery surface. It is a maintenance step, not a substitute for proper drainage or base support.
A cleanly repaired crack protects the driveway from water and keeps a small problem from becoming a broken section of concrete. If the slab is moving or drainage is working against it, deal with that cause first. For Austin homeowners and property managers, a repair that matches the condition of the driveway will last longer and make better use of the property improvement budget.