
How to Build a Retaining Wall That Holds Up
Learn how to build a retaining wall for Austin properties, from excavation and drainage to stable backfill, finishing, and when pros are needed for tall…
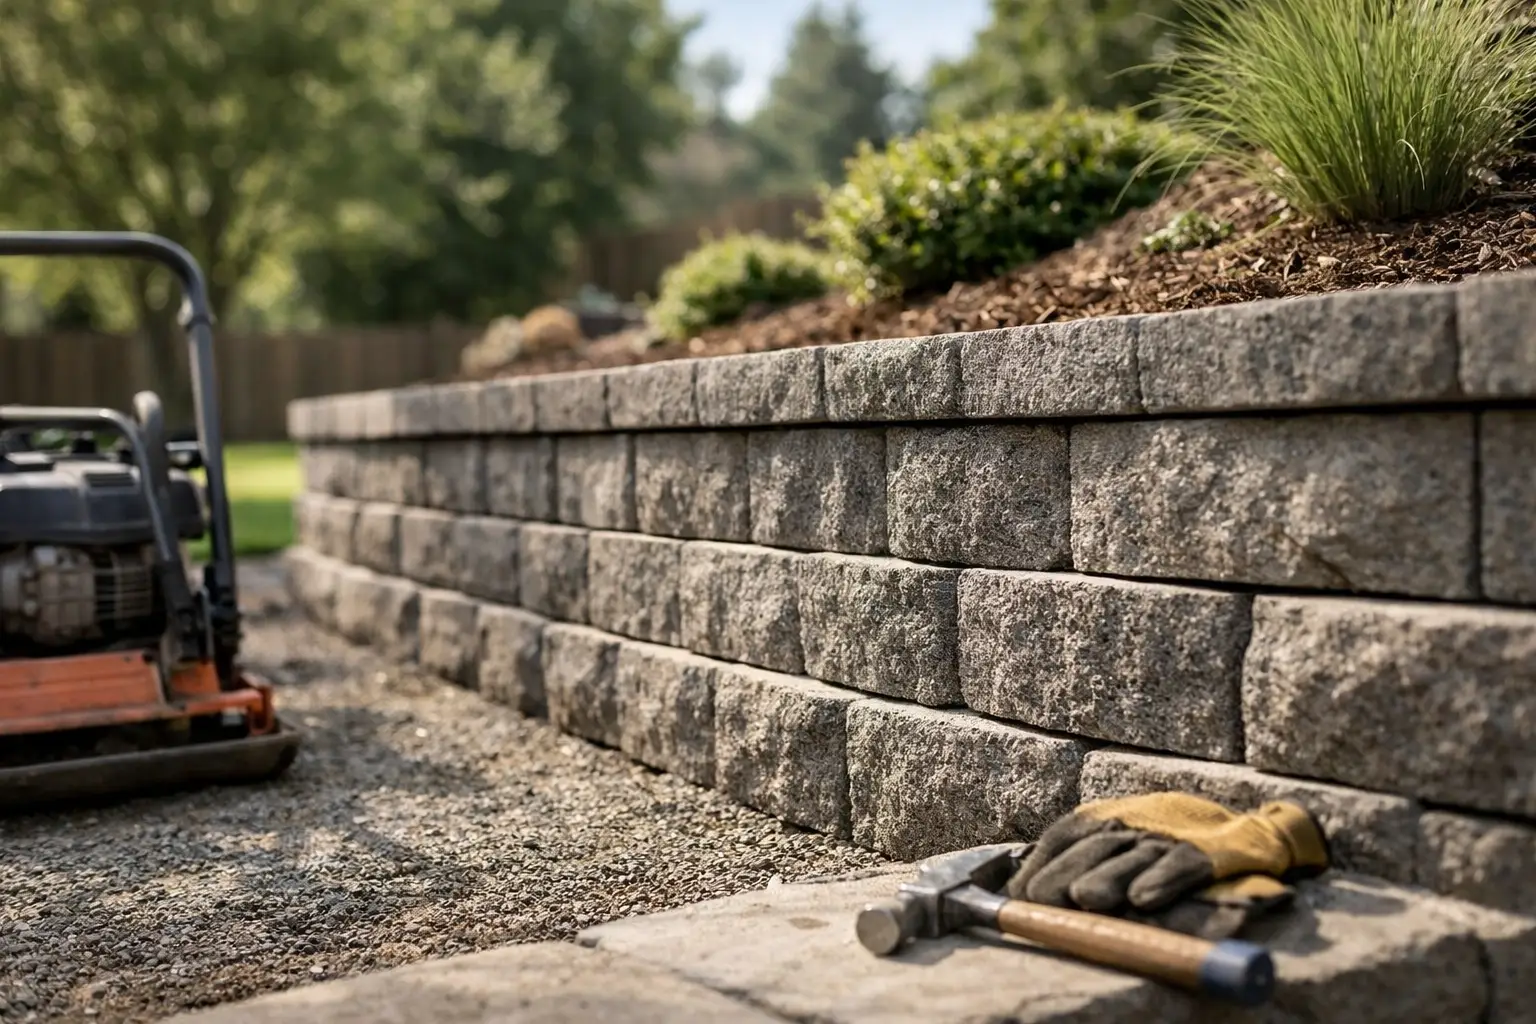
A retaining wall does more than create a clean edge in the yard. It holds back soil, manages changes in grade, and can protect a patio, driveway, fence line, or landscape bed from erosion. That is why learning how to build a retaining wall starts below ground, not with the first block you set.
In Austin, retaining walls also have to deal with intense rain, dry stretches, shifting soils, and sloped lots. A wall that looks good on installation day can lean, crack, or separate within a few seasons if its base and drainage are handled poorly. For short landscape walls, careful preparation can produce a solid result. For taller walls or walls supporting structures, professional design and installation are the safer call.
Start With the Wall's Job and Height
Before choosing materials, determine exactly what the wall needs to retain. A low border around a planting bed has very different demands than a wall holding back several feet of soil beside a driveway or home foundation.
Measure the total height from the bottom of the planned base to the top of the wall. Do not measure only the visible portion above grade. The buried base course counts toward the wall height, and that measurement matters when evaluating engineering and permit requirements.
Short, freestanding landscape walls are often suitable for properly installed segmental retaining wall block. Once a wall approaches four feet in retained height, carries a slope above it, supports a driveway, or sits near a structure, the project needs closer review. Local requirements can vary by location and site conditions. Check Austin-area permitting rules and consult an engineer or qualified contractor before building a wall that carries significant load.
Choose Materials That Match the Site
Concrete retaining wall block is a common choice for residential properties because it is durable, repairable, and available in finishes that work with Texas stone, modern hardscape, or traditional landscaping. Interlocking block systems are designed to step back slightly as they rise, which helps create a stable wall when installed to specification.
Poured concrete can be the right option where a clean monolithic appearance, tight footprint, or higher structural capacity is needed. It requires forms, reinforcing steel, concrete placement, and drainage planning, so it is generally not a casual weekend project.
Natural stone can give a wall a strong Central Texas look, but the installation method matters. Dry-stacked stone works best for low walls with sound drainage and careful stone selection. Mortared stone may look finished, but mortar alone does not solve base movement or trapped water.
Whatever material you select, use products rated for retaining-wall use. Standard landscape edging blocks or patio pavers are not built to resist soil pressure.
Plan Drainage Before You Dig
Water is the main reason retaining walls fail. When rainwater collects in the soil behind a wall, the added weight and pressure can push the wall outward. Austin storms can drop a large amount of water in a short time, making drainage a structural requirement rather than an optional upgrade.
A typical block retaining wall needs clean drainage gravel directly behind it, along with a perforated drain pipe near the base. The pipe should slope to a suitable daylight outlet or approved drainage location. It should not empty against a slab, into a neighbor's property, or where it will create erosion.
Use filter fabric between native soil and drainage gravel where appropriate. This helps keep fine soil from clogging the stone and drain pipe over time. Grade the finished area above the wall so surface water moves away rather than pooling behind the cap blocks.
Call 811 before excavation so underground utilities can be marked. It is a simple step that prevents costly damage and serious safety hazards.
How to Build a Retaining Wall With a Stable Base
The base is where retaining-wall work is won or lost. A level wall cannot compensate for a base that settles, softens, or follows the slope of the yard.
First, lay out the wall with stakes, string line, or marking paint. Account for the wall's setback, drainage zone, and the space needed to work behind it. If the wall will turn a corner, plan the layout around full and cut blocks before excavating.
Excavate a trench wide enough for the block base and several inches of compacted base material on each side. The depth depends on block size, soil conditions, and how much of the first course must be buried. In many installations, the first course is buried at least partially below finished grade, but follow the block manufacturer's specifications and the needs of the site.
Remove loose topsoil and organic material until you reach firm subgrade. Then place crushed stone base in thin lifts, compacting each lift with a plate compactor. Do not dump in a deep layer and compact only the top. The lower material will remain loose and can settle later.
Check level continuously from front to back and along the full length of the trench. This is slow work, but it is more efficient than pulling apart several courses of block because the first row is out of level. On sloped ground, build the base in stepped sections. Never run the wall base on a continuous slope.
Set the First Course Carefully
Set the first course of retaining wall block directly on the compacted base. Work from the lowest point of the wall toward higher ground. Use a rubber mallet to make minor adjustments, then check each block for level side to side, front to back, and against the string line.
Take your time here. The first course establishes the line, elevation, and face angle for every course above it. If blocks rock, remove them and correct the base instead of shimming with loose soil or scraps of material.
Once the first course is set, install the perforated drain pipe behind the blocks in a bed of clean gravel. Position the perforations according to the pipe manufacturer's direction, usually facing down or at an angle so water enters while sediment stays lower in the pipe. Maintain a consistent slope toward the outlet.
Build Up in Courses and Backfill as You Go
Clean dust, gravel, and soil from the top of each block before setting the next course. Most block systems use a lip, pins, or an interlocking shape to create alignment and setback. Offset vertical joints between courses, similar to a brick pattern, to improve stability and appearance.
After each course, place clean drainage gravel behind the wall and compact it gently in lifts. Then place approved backfill farther behind the gravel zone and compact that material as well. Do not use heavy equipment too close to the back of a new wall, especially before it has enough height and support.
For walls that require geogrid reinforcement, install it exactly as designed. Geogrid extends back into the retained soil and ties the wall to the soil mass behind it. Its length, spacing, and placement are structural details, not items to guess at. A wall that needs geogrid should be designed for the site.
Keep checking level and alignment as the wall rises. Small errors become more visible and more difficult to correct with every added course.
Finish the Wall and Restore the Grade
Cap blocks give the wall a finished edge and help keep the top course secure. Dry-fit the caps first, especially around corners and curves. Cut blocks with equipment suited to masonry products, using proper eye, hearing, and dust protection. Secure cap blocks with a landscape construction adhesive rated for exterior masonry when the system calls for it.
Complete the final grading behind the wall so water sheds away from the structure. Avoid placing heavy soil loads, large planters, or vehicles close to the top edge unless the wall was designed for them. A fence, pool, shed, or driveway above the wall can significantly change the load it must carry.
Then restore the landscape. Rock, mulch, native plants, and properly placed irrigation can make the wall feel integrated with the property. Keep irrigation from constantly saturating the soil behind the wall, and inspect the drainage outlet after major storms.
When a Professional Retaining Wall Is the Better Choice
A professionally built wall is worth considering when the project involves major grade changes, wall heights near or above four feet, expansive clay soils, drainage problems, or a wall near a foundation, driveway, pool, or property line. These conditions require more than good block placement. They require site planning, appropriate reinforcement, and a drainage path that works in real weather.
Texan Strong Builds helps Austin-area property owners coordinate retaining walls with concrete, grading, and landscape improvements so the finished space works as one project. The right wall should create usable ground, direct water where it belongs, and stay straight long after the landscaping has filled in.