
How to Plan a Patio Concrete Pour in Austin
Learn how to plan patio concrete pour work in Austin, from layout and drainage to base prep, reinforcement, concrete timing, and finishing details for Texas.
A patio that holds water against the house, settles at one corner, or cracks through the middle is usually not a finishing problem. It is a planning problem. If you are figuring out how to plan patio concrete pour work for an Austin property, start with the ground, drainage, access, and intended use before anyone orders concrete.
A well-planned patio adds usable outdoor space and supports the rest of the yard. It can create a clean area for grilling, outdoor dining, pool access, or a fire pit. But concrete is permanent once it is placed. Good decisions made before the pour protect the slab, the home, and the surrounding landscape.
Start With the Patio’s Purpose and Layout
The size and shape of a patio should follow how the space will actually be used. A small landing outside a back door may only need room for a grill and two chairs. A patio for entertaining may need clear paths around a table, seating, and an outdoor kitchen. If a future pergola, hot tub, or masonry feature is part of the plan, account for it now. Adding heavy structures later can require separate footings or slab modifications.
Mark the proposed patio with paint, string lines, or stakes. Walk the outline before excavation begins. Check door swings, gate access, hose bibs, HVAC equipment, and paths from the driveway or side yard. A layout can look right on paper but feel cramped once furniture and foot traffic are considered.
Keep the shape practical when possible. Straight runs and square corners are easier to form, finish, and joint correctly. Curves can look great, but they increase layout time and may affect forming costs. The right choice depends on the home’s architecture and the way the yard is landscaped.
Leave Room for the Landscape
Patio planning in Austin often involves more than a slab. Consider where planting beds, gravel, sod, drainage swales, edging, and irrigation will go after the concrete is complete. Avoid creating narrow strips of soil that are difficult to mow or maintain. If trees are nearby, protect major roots and avoid raising grade around the trunk.
A concrete and landscape contractor can coordinate these elements so the patio looks finished instead of dropped into the yard as a separate project.
Check Drainage Before Setting the Grade
Drainage is one of the most important parts of a patio plan. The slab should generally slope away from the home so rainfall moves toward an appropriate drainage area, not toward the foundation. A common target is about 1/8 to 1/4 inch of fall per foot, though the exact slope depends on the site, patio size, and existing elevations.
Austin storms can put a lot of water on a property in a short time. A patio that blocks an existing flow path can send water toward a fence line, a neighbor’s yard, or the house. Before work starts, identify where water currently travels during heavy rain. Look for low spots, downspout discharge, eroded soil, and areas where turf stays wet.
The finished patio elevation matters as much as its slope. It must work with door thresholds, siding clearance, weep screeds, and existing walkways. Raising a patio too high can create moisture risks at the house or leave little room for proper drainage. Lowering it too much may create an awkward step down from the door.
If downspouts drain near the new slab, plan extensions, drains, or splash control before pouring. It is much easier to install drainage piping during base preparation than to cut concrete later.
Confirm Utilities, Access, and Local Requirements
Before excavation, locate underground utilities. Gas, electric, water, irrigation, communications lines, and drainage pipes may run through the yard. Do not assume a shallow patio excavation will avoid them. Irrigation lines are especially common in residential landscapes and may need to be rerouted.
Also think through truck and crew access. Ready-mix trucks need a safe place to position, and the farther concrete must travel from the truck to the forms, the more labor and coordination the pour requires. Narrow side yards, steep slopes, gates, and existing landscaping can affect whether wheelbarrows, pumps, or other placement methods are needed.
Permit requirements vary by location and project scope. A basic ground-level patio may have different requirements than a covered patio, retaining wall, outdoor kitchen, or structure tied into the home. If the project includes electrical work, plumbing, gas lines, or a roof cover, those items should be addressed early.
Build the Base for Central Texas Soil
Concrete needs a stable, properly prepared base. In the Austin area, expansive clay soils and variable ground conditions can move with moisture changes. A patio cannot eliminate all soil movement, but proper excavation, grading, and compaction reduce the risk of uneven support.
The work typically begins by removing grass, roots, loose organic material, and unsuitable soil. The subgrade is then shaped to the planned slope and compacted. Depending on site conditions and design, a compacted granular base may be installed to help create a consistent bearing surface and improve drainage below the slab.
Do not pour over soft, wet, or freshly disturbed ground without proper correction. Those conditions can lead to settling and cracks. If the excavation exposes deep roots, poorly compacted fill, or significant grade changes, adjust the plan before concrete arrives.
Choose the Right Slab Thickness and Reinforcement
Many residential patios are poured at 4 inches thick, but thickness should match the intended use and soil conditions. A standard seating patio has different demands than an area supporting a built-in grill, a large outdoor fireplace, or vehicle access. Thickened edges or separate footings may be needed for concentrated loads.
Reinforcement helps control crack behavior, but it does not make up for poor subgrade preparation. Wire mesh, rebar, and fiber reinforcement each have a place depending on the project. Reinforcement should be positioned within the slab as designed, not left lying at the bottom of the excavation where it provides limited benefit.
Concrete will crack at some point. The goal is to manage where and how it cracks through sound base work, reinforcement, and planned control joints.
Plan Joints, Edges, and the Finished Surface
Control joints create planned weak points that encourage cracking to occur in cleaner, less noticeable lines. Joint layout should be part of the design before the pour begins, especially for patios with corners, columns, steps, or irregular shapes. Large unjointed panels are more likely to crack unpredictably.
The patio’s edge treatment also affects appearance and function. A simple broom finish is durable, practical, and slip-resistant for most outdoor patios. Exposed aggregate, stamped patterns, colored concrete, and decorative borders can add visual appeal, but they require additional planning, labor, and weather control. Decorative finishes are not always the best fit for a high-traffic area with heavy furniture or frequent grilling.
For Austin homes, consider sun exposure. Darker colors can absorb more heat, while highly textured finishes can be harder to clean. A light broom-finished patio is often the most practical choice for a durable outdoor surface that stays visually clean.
Calculate Concrete and Schedule the Pour Carefully
Concrete is ordered by volume, generally in cubic yards. Measure the slab length, width, and thickness accurately, then account for thickened edges, steps, and small overage. Ordering too little can create a poor cold joint if more concrete is needed after the first load is placed. Ordering far too much wastes material and money.
The pour date should account for weather, crew availability, access, and curing conditions. Avoid treating the forecast as an afterthought. Heavy rain can damage fresh work, while extreme heat and wind can pull moisture from the concrete too quickly. Austin summers demand a crew that can place, strike off, edge, joint, and finish the concrete without delays.
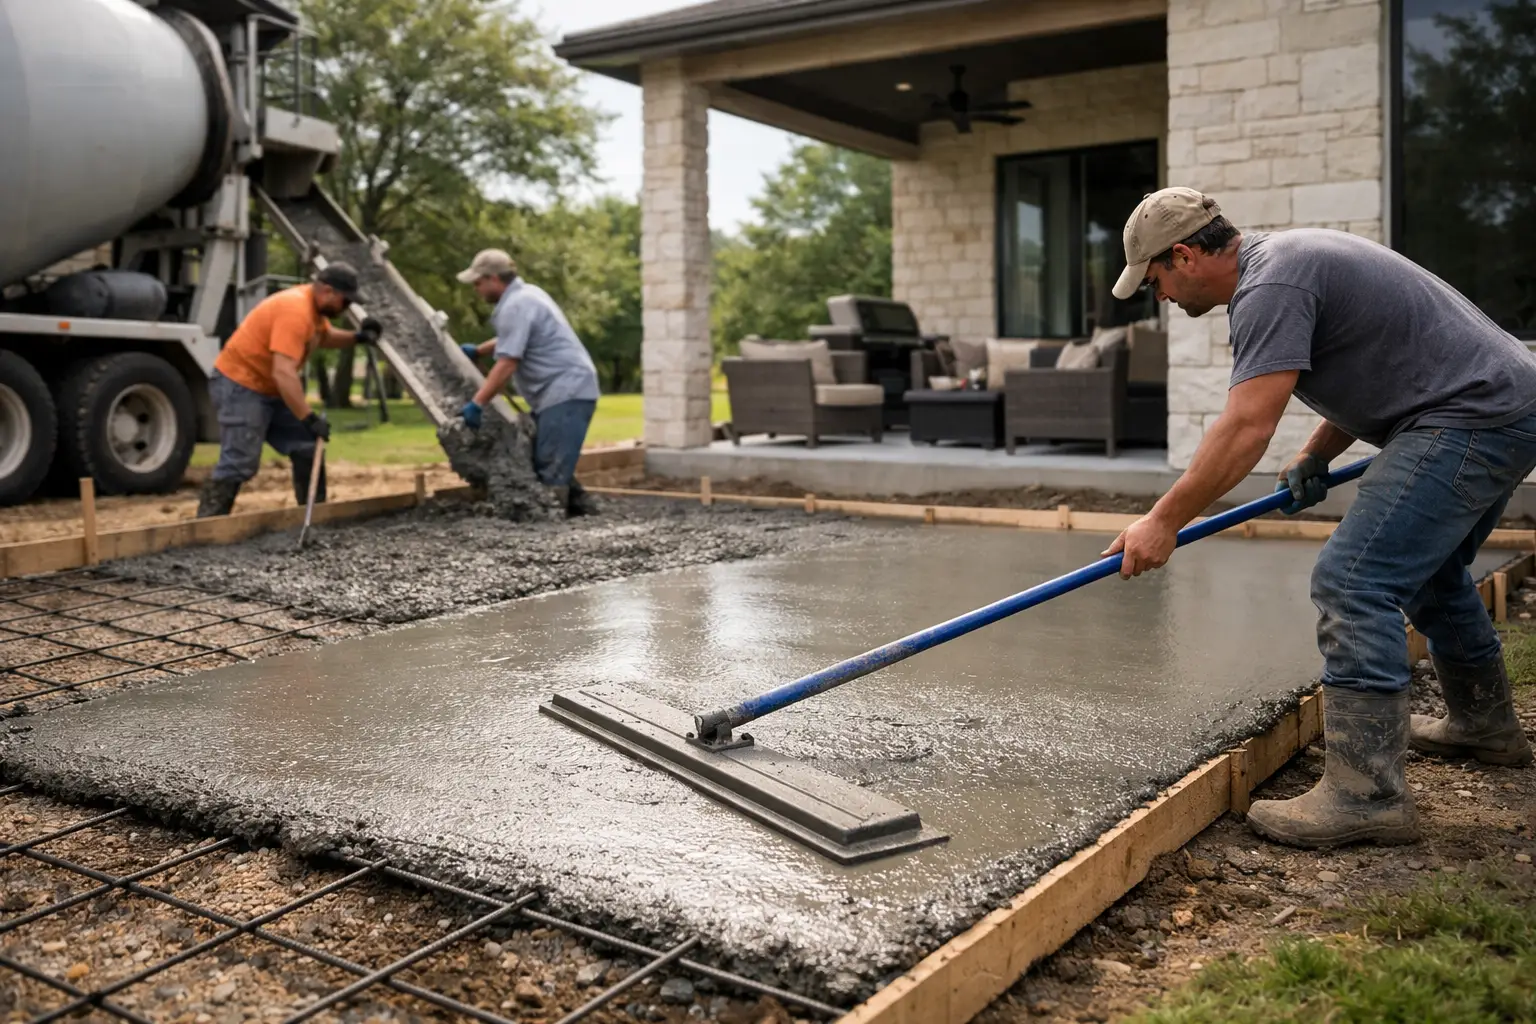
Make sure forms are braced, base material is compacted, reinforcement is set, tools are ready, and the crew has a clear placement sequence before the truck arrives. Concrete work moves fast once the load is on site. Last-minute changes to slope, dimensions, or finish can cost time and affect the result.
Protect the Patio After the Pour
Fresh concrete needs curing time to build strength. The exact protection plan depends on the mix, weather, finish, and project conditions, but foot traffic, furniture, pets, and vehicles should be kept off the slab until it is ready. Premature use can mark the surface or damage edges.
Curing is especially important in hot, dry weather. The surface should not be allowed to dry out too quickly. A contractor may use curing compounds, moisture-retention methods, or other appropriate procedures based on the job.
After the patio has cured, complete the surrounding grade and landscaping so water continues to move away from the slab. This is where the full project comes together: clean edges, stable drainage, finished beds, and a patio that feels like part of the property rather than an unfinished construction zone.
A patio pour is only one day on the schedule, but the preparation determines how it performs for years. Take the time to plan the ground, water flow, use of the space, and finishing details before the concrete truck is booked.