
How to Install a Concrete Patio the Right Way
Learn how to install concrete patio slabs with correct grading, base prep, reinforcement, joints, and curing for Austin homes built to last in Texas heat.
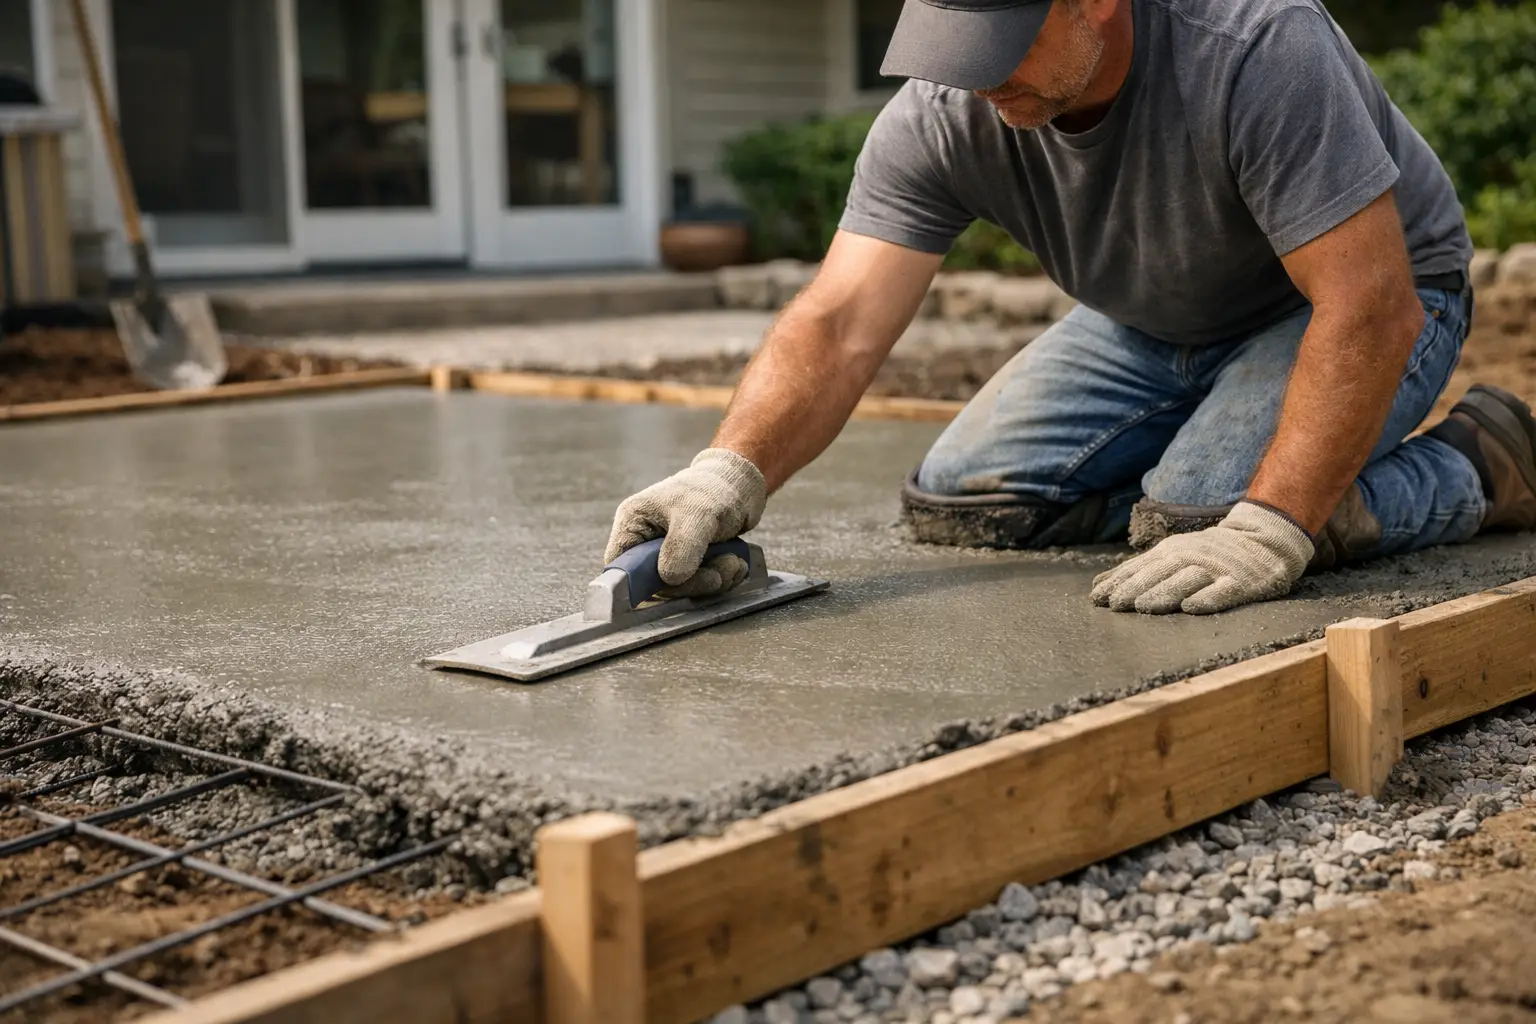
A concrete patio is only as good as what sits underneath it. Homeowners researching how to install concrete patio slabs often focus on the pour, but grading, soil preparation, forms, and curing are what determine whether the finished surface stays level and drains properly through Austin heat and heavy rain.
For a small, simple patio, a capable homeowner may handle portions of the work. For larger slabs, tight access, drainage concerns, or a patio that will support an outdoor kitchen, cover, or heavy furniture, professional installation is usually the better long-term decision. Concrete is hard to correct after it sets.
Plan the Patio Before Breaking Ground
Start with the patio's purpose and location. A basic sitting area may only need room for a table and chairs, while a grilling or entertaining space needs clear walkways, equipment clearance, and a practical connection to the home. Mark the layout with stakes and string, then check how doors swing, where roof runoff lands, and how people will move through the yard.
Drainage needs to be decided before excavation. The finished patio should slope away from the house, generally about 1/8 to 1/4 inch per foot. That is enough fall to move water without making the patio feel noticeably sloped. Never use a patio installation to trap water against the foundation.
In Austin-area properties, soil conditions deserve special attention. Expansive clay can shift as moisture levels change, and a poorly prepared slab can crack, settle, or hold water. A patio does not need to be built like a foundation, but it does need a stable, properly compacted base and sound drainage around it.
Before digging, contact the local utility locating service and verify whether permits, setbacks, or HOA approvals apply to your project. Requirements vary by neighborhood and by whether the patio connects to a structure or includes electrical, plumbing, a cover, or retaining work.
How to Install a Concrete Patio Step by Step
Set the finished height and excavate
Determine the finished elevation first. The patio should sit below nearby door thresholds while still allowing proper drainage away from the house. Account for the concrete thickness, the compacted base, and any edge treatment before you start removing soil.
Most residential patios use a 4-inch concrete slab over several inches of compacted crushed stone. That usually means excavating at least 7 to 8 inches below the intended finished surface, depending on base depth and site conditions. Remove grass, roots, loose topsoil, and soft material completely. Leaving organic material below the slab creates voids as it breaks down.
Excavate the entire area consistently, not just the perimeter. Check depth and slope repeatedly with a string line, level, laser level, or long straightedge. This stage takes time, but it is easier to fix grade now than after forms and reinforcement are installed.
Build and compact the base
Install a layer of crushed stone or road base over the excavated soil. A 3- to 4-inch compacted base is common for a standard patio, though unstable ground or heavier planned loads may call for more preparation. Spread the material evenly and maintain the planned slope.
Compaction is not optional. Lightly wet the base if it is dusty, then compact it in lifts using a plate compactor. Hand tamping may be acceptable for a very small repair, but it does not produce the same result across a full patio. The base should feel firm underfoot with no loose areas or visible movement.
If the site has poor drainage, very soft soil, or a history of settling, the solution may involve additional excavation, geotextile fabric, deeper base material, or a revised patio location. Adding concrete thickness does not solve every soil problem.
Install forms and reinforcement
Use straight, sturdy form boards to define the patio edge. Set the forms to the final concrete height and secure them with stakes placed outside the pour area. Check them for line, level, square corners, and proper drainage slope. Measure diagonally across rectangular layouts to confirm the corners are square.
For many patios, welded wire mesh or rebar helps hold the slab together if cracking occurs. Reinforcement does not prevent cracks completely. Concrete naturally shrinks as it cures, and cracking is expected to some degree. The goal is to control cracks and keep the slab performing as one surface.
Place reinforcement on supports so it sits within the middle portion of the slab instead of resting directly on the base. Rebar is especially useful around irregular shapes, wider slabs, edges, and areas carrying added weight. If the patio meets an existing slab or house wall, use an isolation joint so the new concrete can move independently.
Schedule the pour and place the concrete
Concrete work moves quickly once the truck arrives. Have the forms, base, reinforcement, tools, water source, and crew ready beforehand. For patios larger than a small pad, ordering ready-mix concrete is generally more consistent and practical than mixing bags on site.
Place the concrete close to its final location to avoid excessive raking. Spread it evenly, then consolidate and strike it off with a straight screed board riding along the forms. Screeding establishes the final plane, so keep checking that the surface follows the drainage slope you planned.
Do not add excess water to the mix just to make finishing easier. Too much water weakens the surface and can lead to dusting, scaling, or premature cracking. If the concrete is difficult to place, address the mix and work plan rather than watering it down in the forms.
Finish the surface for real use
After screeding, the concrete needs time for bleed water to rise and evaporate. Do not start final finishing while water is still sitting on the surface. Premature troweling can trap moisture and weaken the top layer.
For most Texas patios, a light broom finish is the practical choice. It provides traction when the surface is wet and holds up well for everyday use. A smooth troweled finish can become slick, especially around pools, sprinklers, or shaded areas. Decorative options such as stamped concrete, exposed aggregate, or colored concrete can add character, but they require a more controlled finishing process and should be planned before the pour.
Round exposed edges with an edging tool for a cleaner look and less chipping. Avoid overworking the concrete. Every extra pass can bring too much paste to the surface and reduce durability.
Cut control joints and cure the slab
Control joints create planned weak points where shrinkage cracks are more likely to occur. For a typical 4-inch patio slab, joints should be cut or tooled to about 1 inch deep. Layout depends on the slab shape, but joint spacing commonly follows a grid of roughly 8 to 10 feet or less. Keep panels as square as practical and add joints at inside corners, where cracking often starts.
Curing is where a new patio gains strength. Protect the slab from rapid moisture loss, especially during hot, windy Austin weather. Apply a compatible curing compound or keep the surface covered and damp according to the curing method being used. Avoid heavy use for at least several days, and give the slab more time before placing grills, planters, furniture, or other concentrated loads.
Concrete continues gaining strength for weeks. A patio may look finished the day it is poured, but the curing period is part of the installation, not an afterthought.
Common Patio Installation Mistakes
The most expensive mistakes usually begin before concrete arrives: failing to establish slope, pouring over loose soil, skipping base compaction, or setting forms without checking elevations. Other problems come from no control joints, inadequate reinforcement placement, and rushing the finish in direct heat.
Another common issue is treating a patio as separate from the rest of the yard. Downspouts, landscape beds, drainage swales, irrigation lines, and future walkways all affect the final result. Planning the concrete and landscaping together prevents a new patio from creating runoff issues or awkward transitions later.
A properly installed patio should feel simple when it is done. Water moves away from the house, furniture sits level, the surface is comfortable to walk on, and the edges connect cleanly with the surrounding landscape. That result comes from solid site preparation and disciplined concrete work, not shortcuts during the pour.